Item Groups are set up once (this should be a senior management function), and each group is set up with its own General Ledger Inventory Stock code and General Ledger Expense code.
Once an item is purchased and directly expensed or taken into stock, these entries will be allocated to these codes in the Pastel Ledgers. This makes it possible for management to see exactly, month by month, what levels of stock are being held in each item group, as well as what what the costs are for each pre-determined expense code.
Inserting an Item Group
Changing an Item Group
Deleting an Item Group
Inserting an Item Group
In the Inventory Menu, click on the Item Groups icon and the Item Groups window will be displayed.
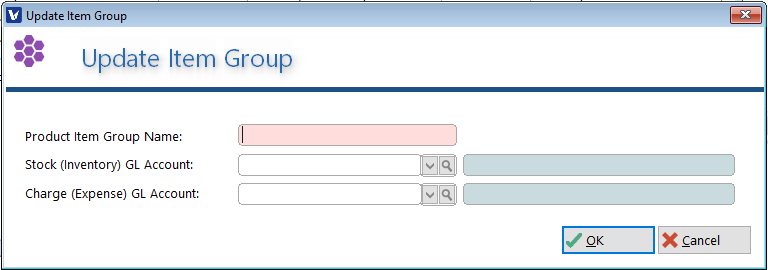
Click in the Insert button and the Update Item Group window will be displayed.
Fill in the Product Item Group Name for the new group.
Specify the Stock (Inventory) General Ledger account by using the lookup button.
Now specify the Charge (Expense) General Ledger account by using the lookup button.
Click OK to save and create the new Item Group.
Changing an Item Group
In the Item Groups window, highlight the Group you would like to change.
Click on the*Change* button and make the necessary changes.
Once complete, click on the OK button to save.
Deleting an Item Group
In the Item Groups window, highlight the Group you would like to change.
Click the Delete button and a confirmation message will appear.

Configuring Item Groups
Item Groups are set up once (this should be a senior management function), and each group is set up with its own General Ledger Inventory Stock code and General Ledger Expense code.
Once an item is purchased and directly expensed or taken into stock, these entries will be allocated to these codes in the Pastel Ledgers. This makes it possible for management to see exactly, month by month, what levels of stock are being held in each item group, as well as what what the costs are for each pre-determined expense code.
Inserting an Item Group
In the Inventory Menu, click on the Item Groups icon and the Item Groups window will be displayed.
Click in the Insert button and the Update Item Group window will be displayed.
Fill in the Product Item Group Name for the new group.Specify the Stock (Inventory) General Ledger account by using the lookup
Now specify the Charge (Expense) General Ledger account by using the lookup
Click OK to save and create the new Item Group.
Changing an Item Group
In the Item Groups window, highlight the Group you would like to change.
Click on the*Change* button and make the necessary changes.
Once complete, click on the OK button to save.
Deleting an Item Group
In the Item Groups window, highlight the Group you would like to change.Click the Delete button and a confirmation message will appear.
Click Yes to confirm the deletion.

Product/Stock Items